How to make Black Friday labels in Google Docs
The year’s biggest shopping event is coming soon and you’d like to print your own Black Friday labels and tags? This guide teaches you how to make Black Friday labels in Google Docs.
🛍 How to make Black Friday labels:
- Open a new document
- Open Smart Label Maker
- Select a template
- Design label
- Personalize your labels
- Create the labels
- Preview before printing
- Print labels
1. Open a blank document
To begin, Open a new Google Docs in Google Docs. You can leave it blank. This document will be used to create and print the Black Friday labels.
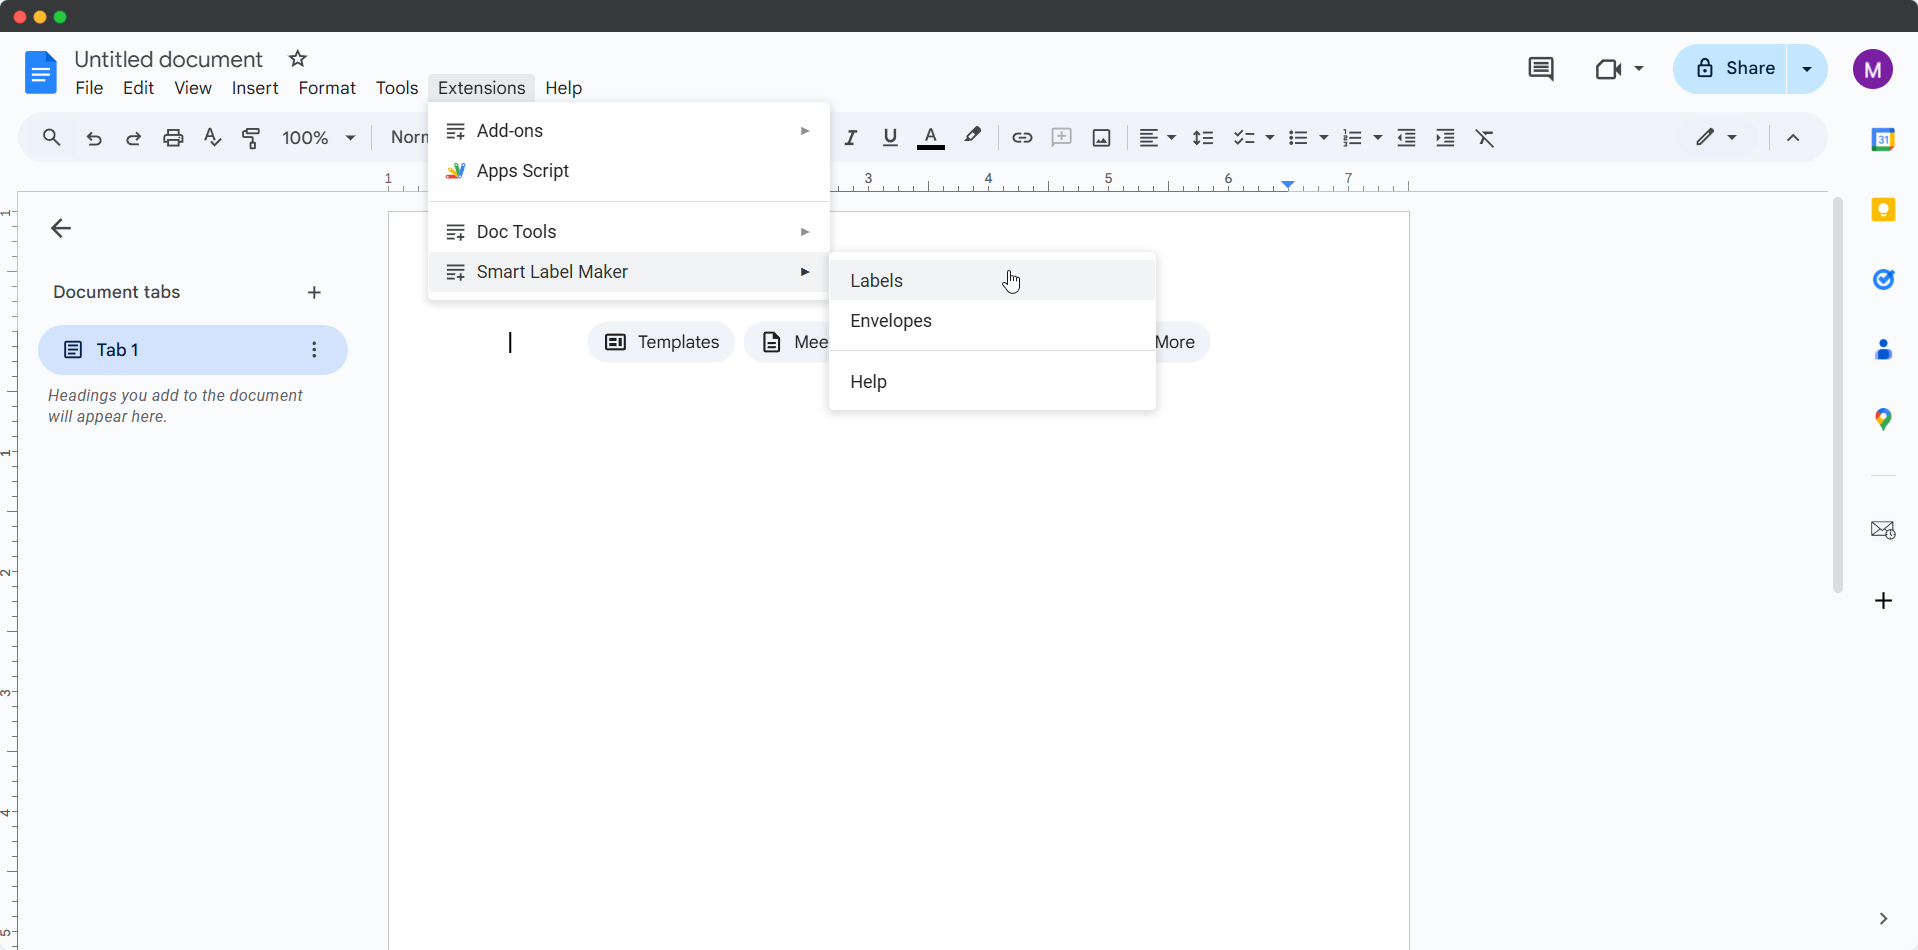
2. Open Smart Label Maker
Then, go to the “Extensions” menu (previously named “Add-ons”) and select “Create & Print Labels”. If you haven’t installed the Labekmaker add-on yet, you can Smart Label Maker from the Google Workspace Marketplace. When the installation is finished, you might need to reload your document by closing it and reopening it and the add-on will appear.
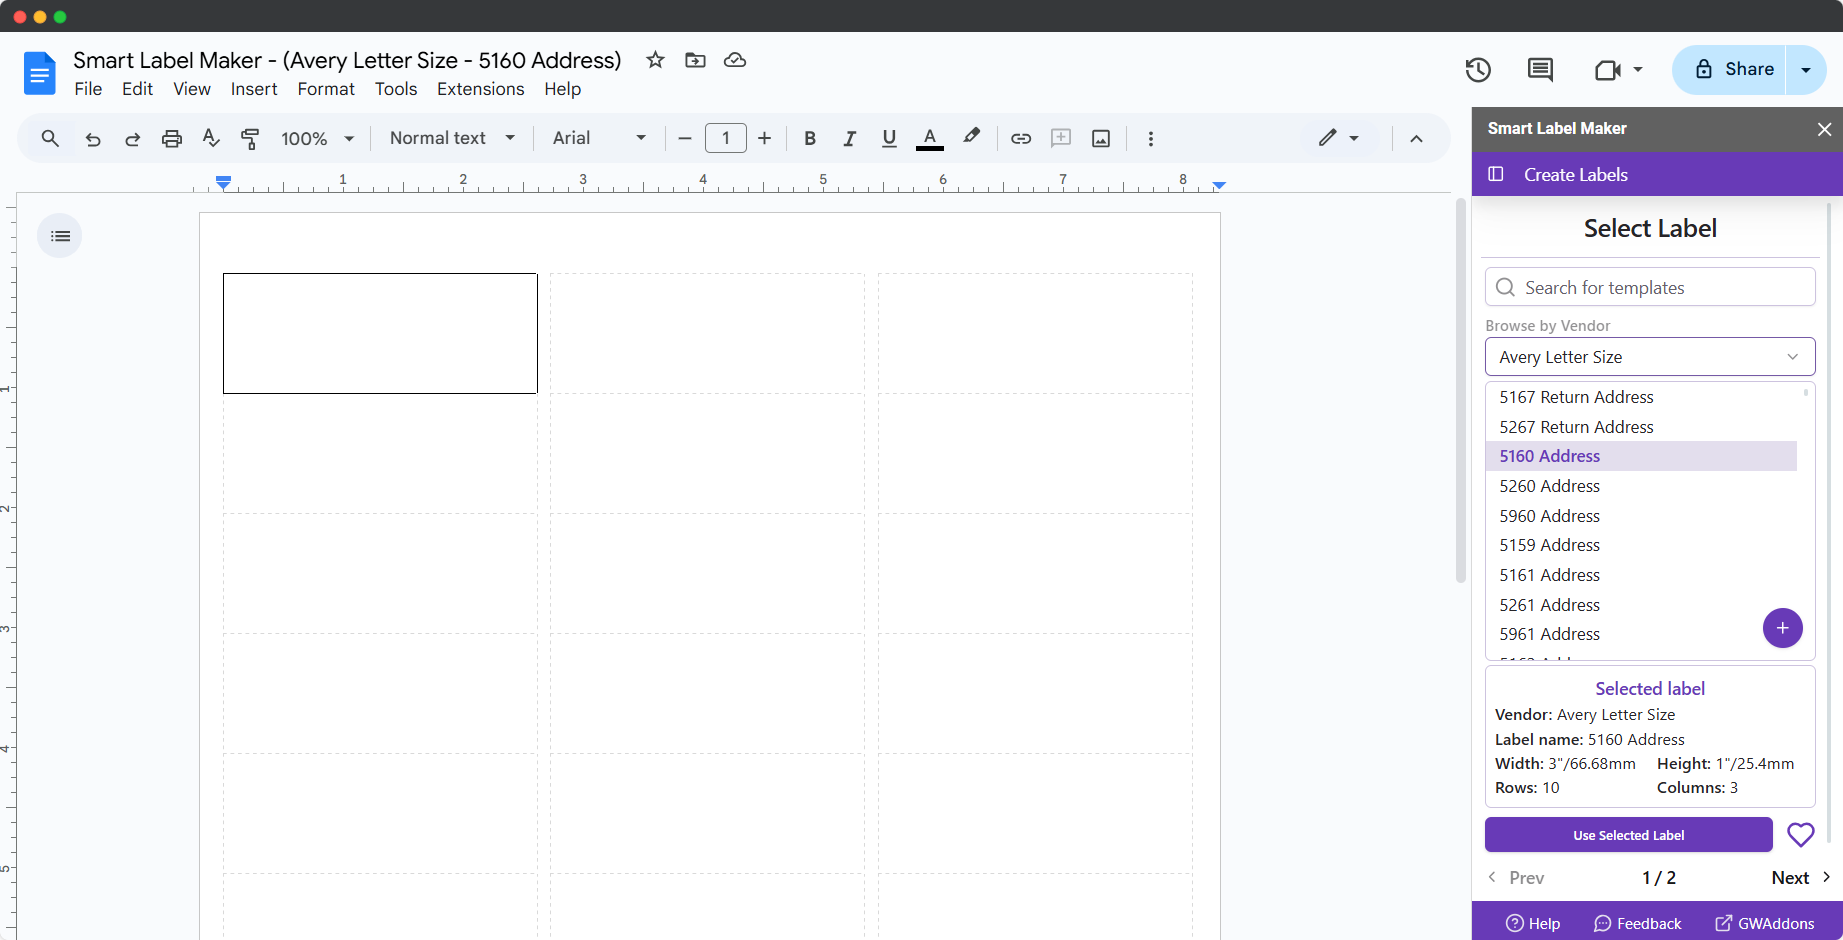
3. Select a template
In the Smart Label Maker sidebar, click on “Select a template”. You will be given several template options. As of writing, you can choose from over 5000+ labels.
There are several categories such as Avery® US Letter, Avery® A4, Avery® Zweckform to print Avery ® Labels for Black Friday, and also Sheetlabels.com, OnlineLabels.com and Herma. In this label guide, we will be using the “Avery 5160” template, which is a commonly used label format.
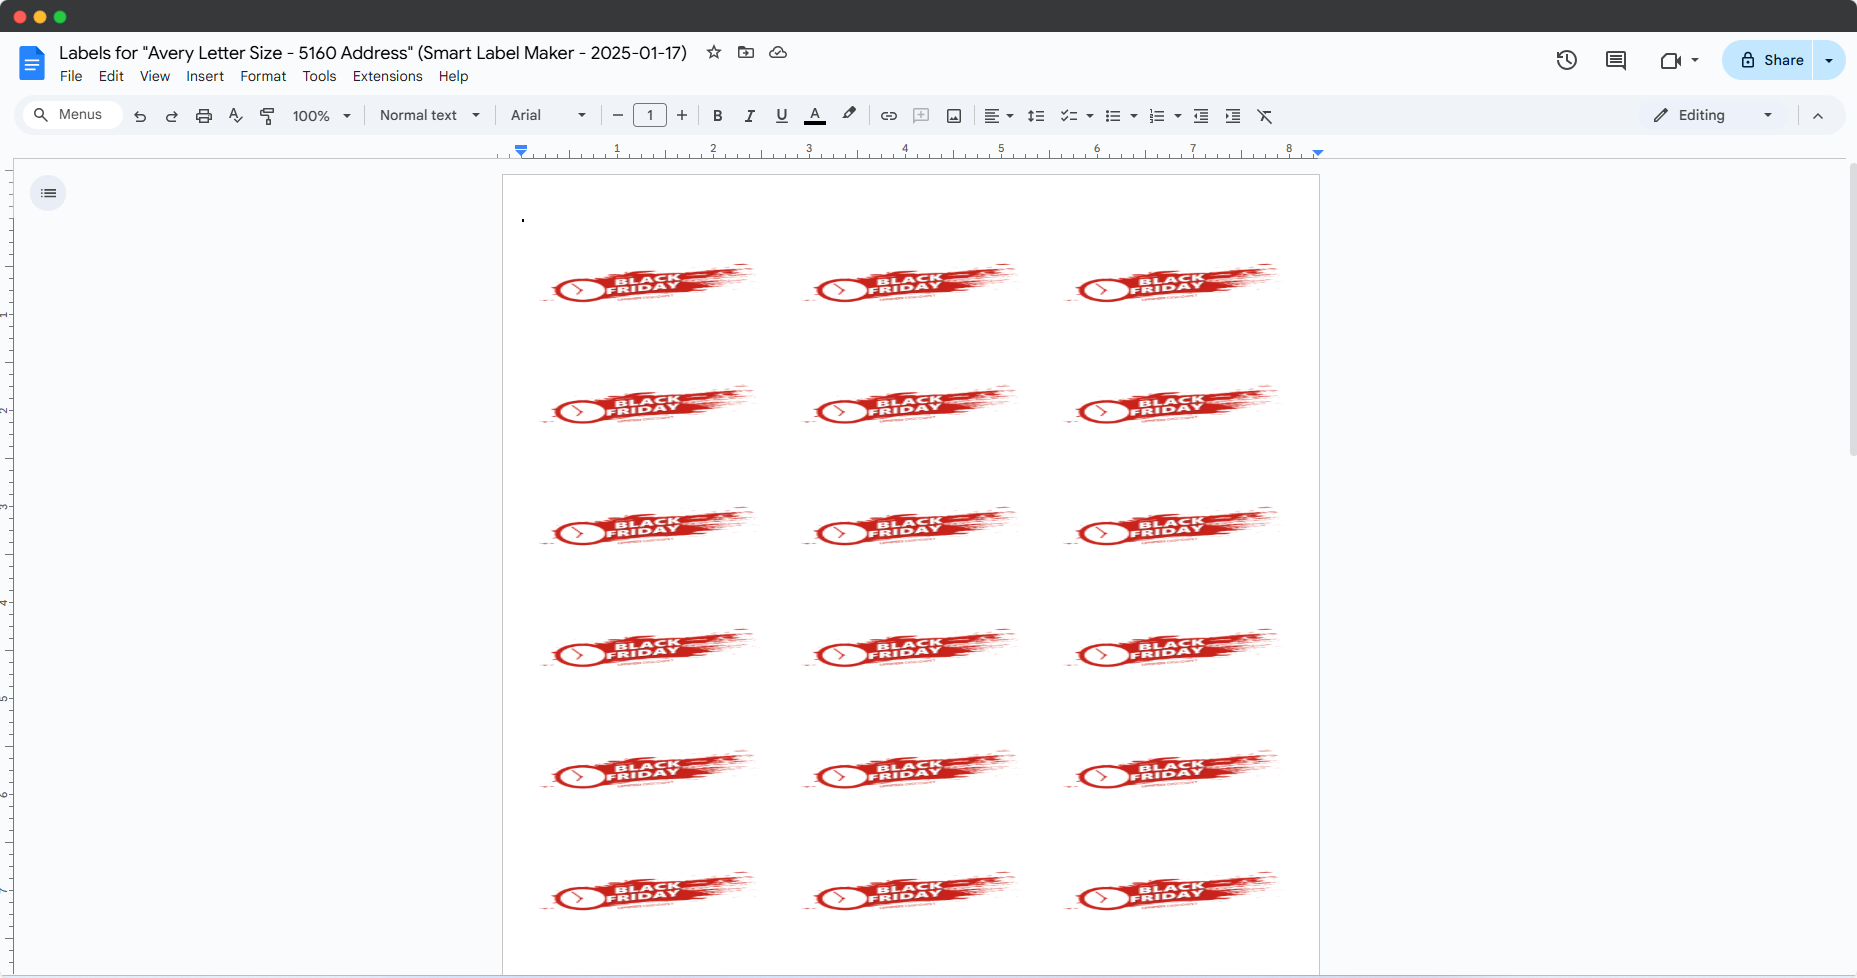
4. Design your label
Now is the time to start designing your very own labels for a special Black Friday. We are going to insert an image in the labels to decorate them.
The example below shows you the end-result. Let’s do it together step-by-step:
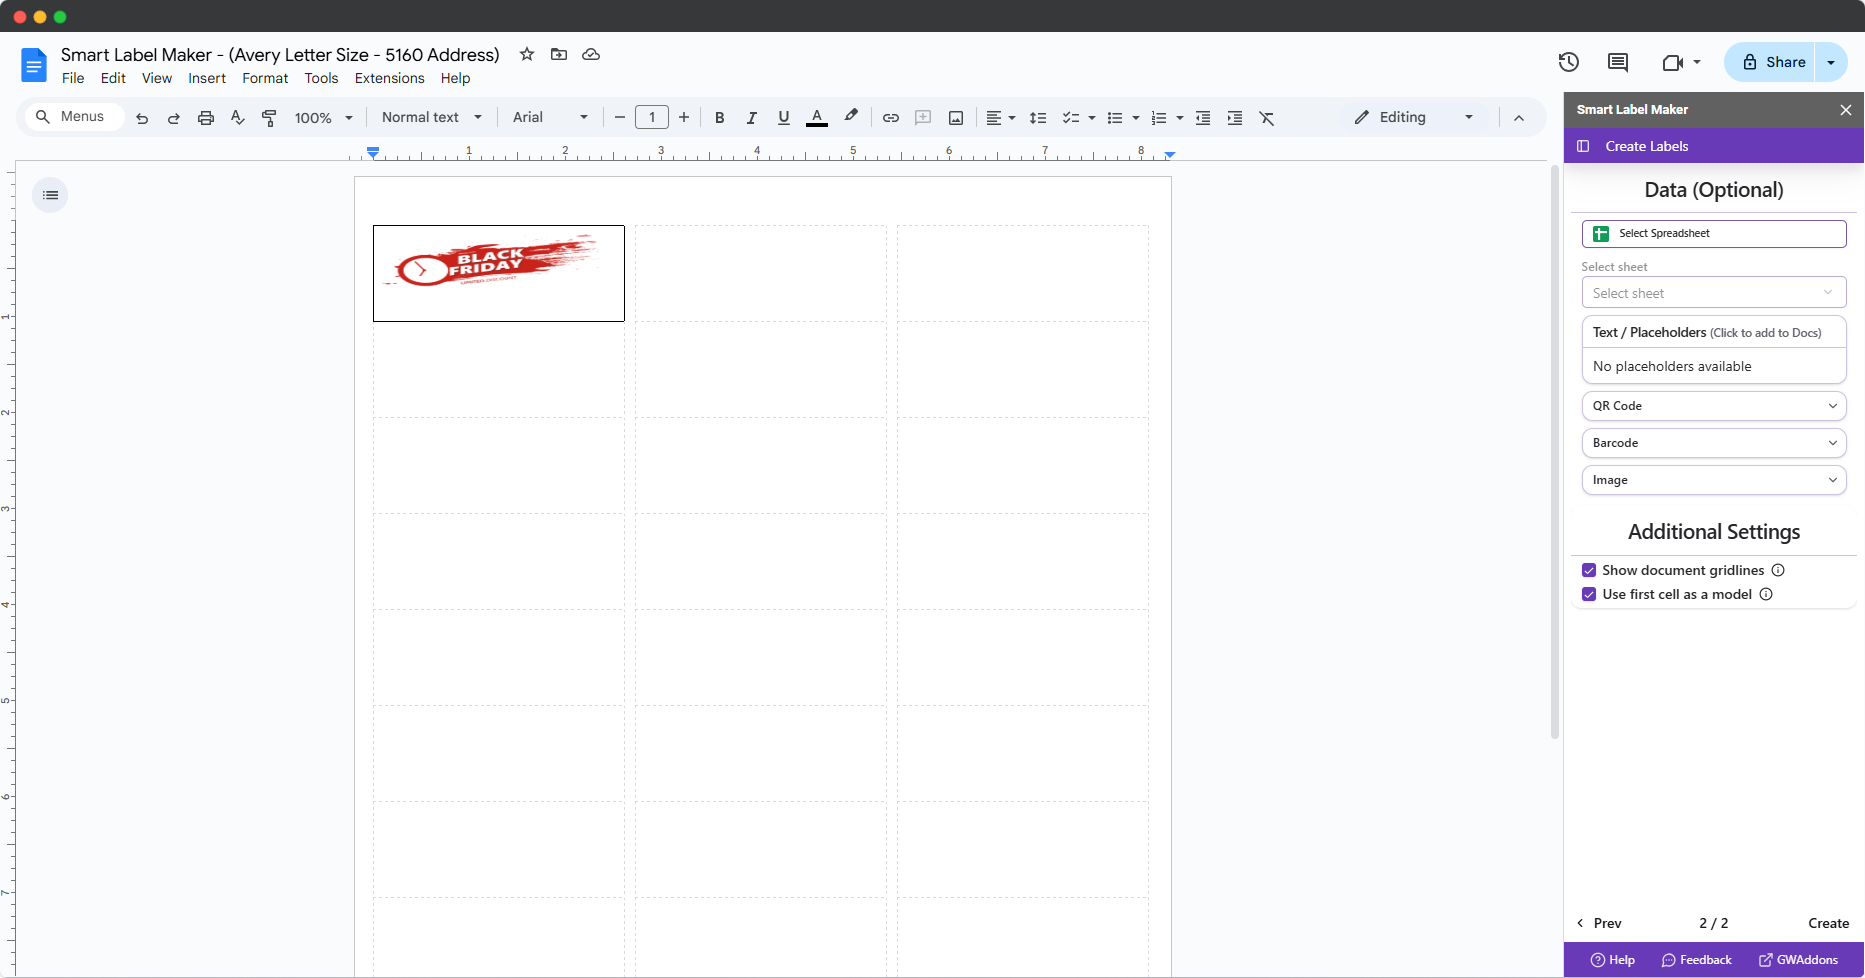
5. Personalize your labels
To create a variety of labels, you can also use a mailing list. That way you could print Black Friday labels and use personalized information from your mailing list such as a Name, Address, City State, Zip Code…
To add an image in your Black Friday labels, follow our guide on How to insert images in your labels. It’s possible to add QR codes to your labels for example.
6. Create the labels
Once you are done creating your Black Friday labels, click on “Create labels” at the bottom of the sidebar, on the right. Don’t forget to untick “Use first cell as model” (unless you want to print a full page of the same labels). Wait for the labels to be ready and click on “Open document”.
7. Preview before printing
Before printing your work, check that everything is in order, that there are no misalignment issues. Should you need to make some changes, just go back to the original document. Once the modifications are made, simply click on “Create labels” again. This will create another page of labels.
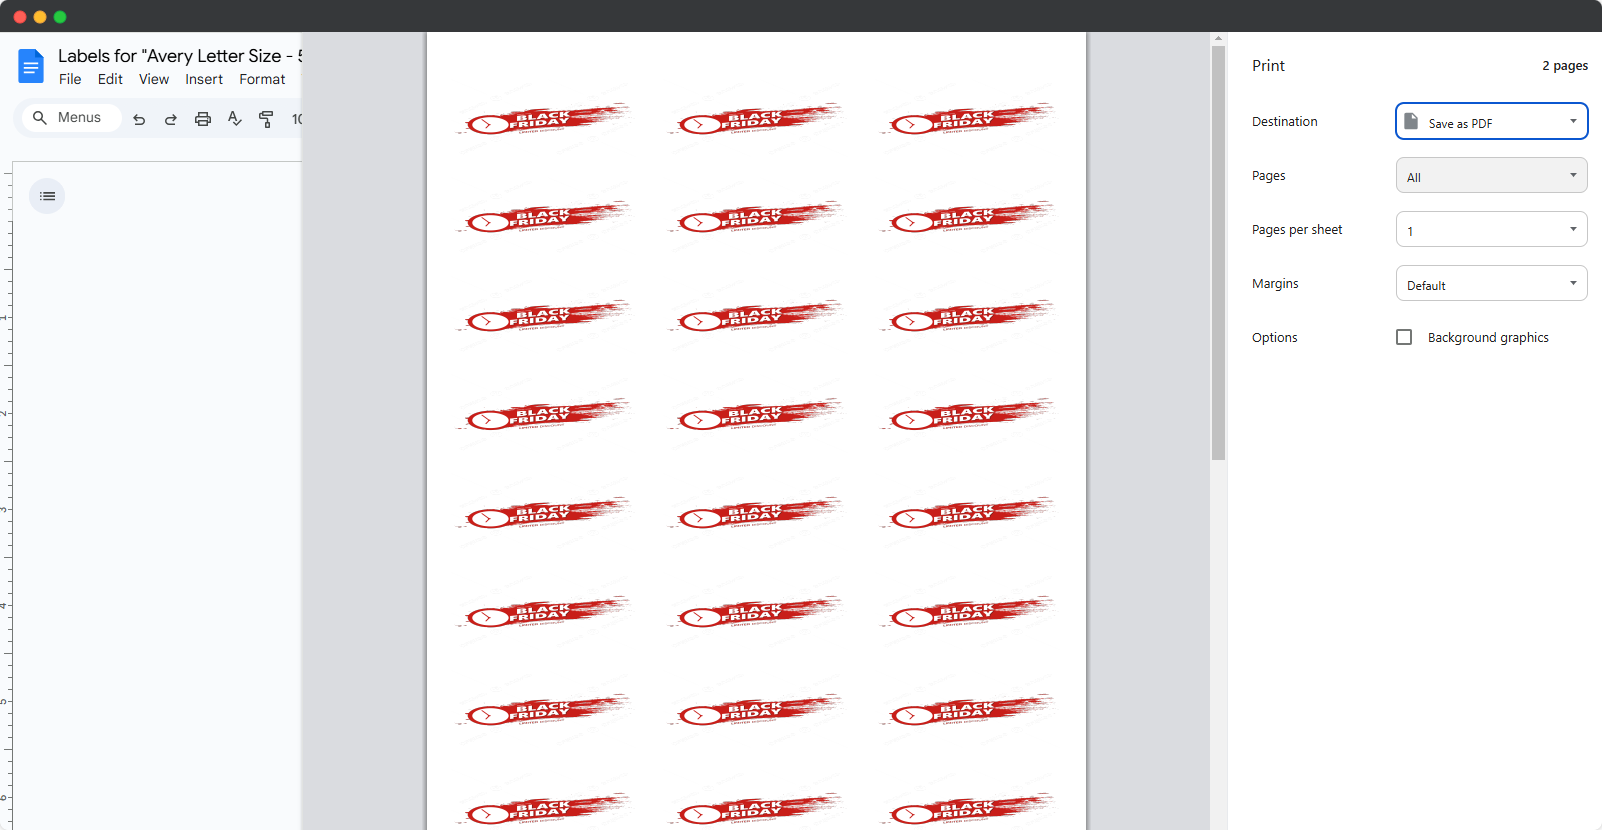
8. Print your Black Friday labels
To print your Black Friday tags, click on “File” > “Print”. In the print dialog, check that the margin is set to none and the scale to 100%. Depending on the label format you chose, you might need to adapt the size of the page. In our example, the Avery® US Letter 5160 requires the size to be “Letter”.
It’s your turn to create Black Friday labels!
Now you know how to make your own Black Friday labels using the Google suite. A personal touch to your gift wrapping will wow your family and friends!
Using this guide, you’ll be able to print Avery Labels for Black Friday with Google Docs as well as other kinds of labels and gift tags.
Install Smart Label Maker to create Black Friday labels from Google Docs now! To learn more, check out our other tutorials. We also have a guide in case you’d like to print labels from Google Sheets rather than Google Docs.